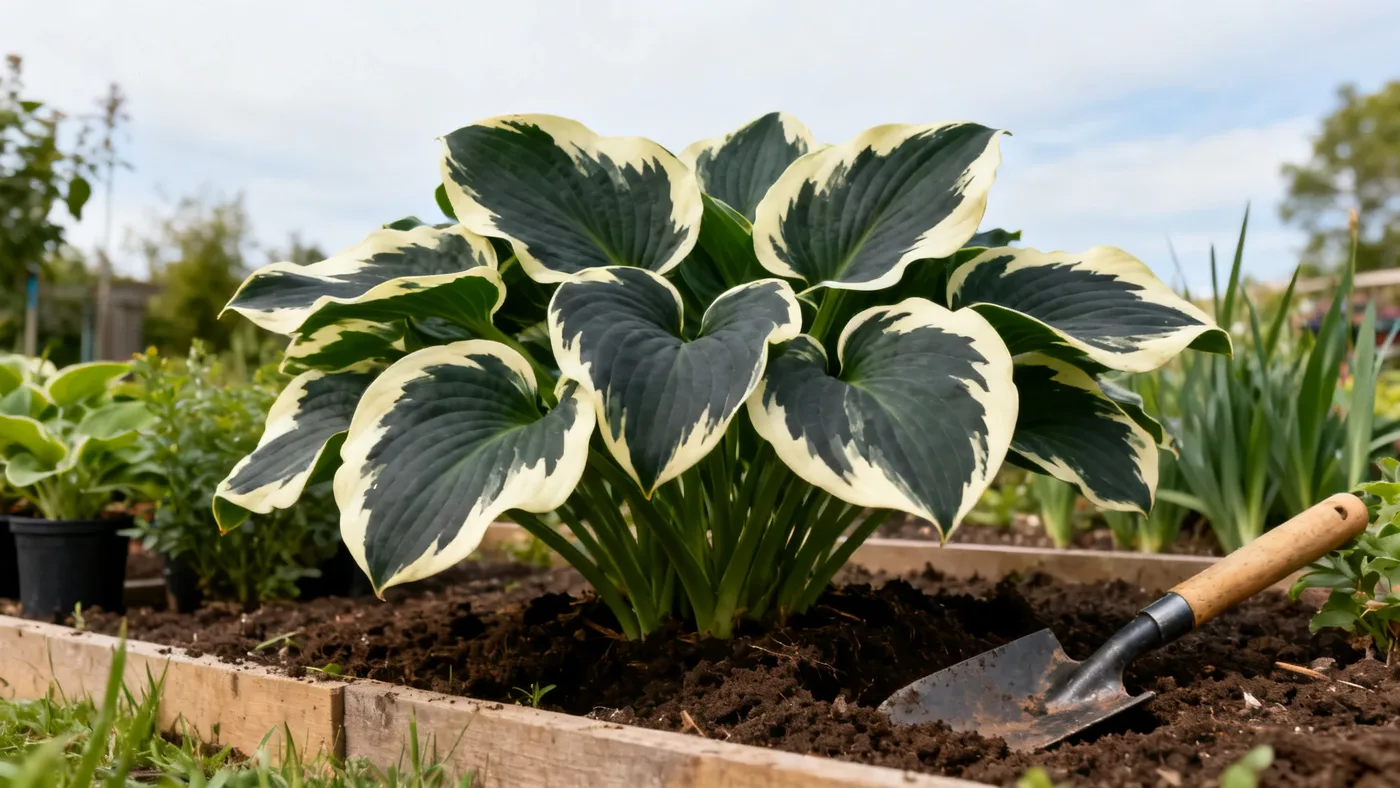
Growing Plantation Lily in Pots and Containers
Plantation Lily thrives in containers just as well as it does in garden beds. If you have limited space, a shaded patio, or want a movable focal point for your landscape, growing Hosta 'Patriot' in pots is an excellent choice. This guide walks you through every step, from selecting the right container to maintaining your plant through the growing season.
Why Choose Container Growing for Plantation Lily
Containers offer flexibility. You can position your Plantation Lily exactly where you want it, move it if conditions shift, and control the soil entirely. Potted hostas also make stunning specimens on patios, near entryways, and in shaded corners where you want instant structure. Because deer often browse hostas in garden settings, a raised container can reduce browse pressure, though it won't eliminate it completely.
Materials and Setup
Before you plant, gather these items:
- A container at least 14 to 16 inches in diameter and 12 to 14 inches deep. Larger is better; a 20-inch pot allows room for growth without frequent repotting.
- Potting soil or container mix that drains well. Look for a blend labeled for shade plants or hostas. Avoid dense garden soil, which compacts in pots.
- Compost or aged bark mulch to amend the potting soil and add organic matter.
- Balanced, slow-release fertilizer (optional, for spring feeding).
- Drainage holes in the base of the container. If your pot lacks them, drill several before planting.
- A nursery-grown Plantation Lily plant, typically sold in a quart or #1 container.
Choose a pot with drainage holes. Without them, water pools around the roots and causes rot. Terracotta, plastic, and resin containers all work; terracotta dries faster, so it requires more frequent watering in hot spells. Resin and plastic retain moisture longer.
Step-by-Step Planting Instructions
Step 1: Prepare the Pot and Soil
Fill the bottom 3 to 4 inches of your container with potting soil. If you're using standard potting mix, blend in a handful of compost per gallon of soil to enrich it. Plantation Lily prefers soil that is rich and humus-heavy, with a pH between 6.0 and 7.0 (slightly acidic to neutral). Most commercial potting soils fall within this range, but verify the label if you have concerns about pH.
Step 2: Remove Your Plant from Its Nursery Pot
Water your Plantation Lily thoroughly an hour before transplanting. Gently slide it from its pot and loosen the root ball with your fingers. If roots are tightly wound, make three or four gentle vertical cuts along the outer edge of the root ball to encourage roots to spread into the new soil. Do not shred the ball aggressively; hostas are tougher than many plants and respond well to gentle handling.
Step 3: Plant at the Correct Depth
Set the root ball into your prepared pot so that the top of the root ball sits at the same level as the soil surface, or very slightly higher. The crown (where the roots meet the stems) should never be buried below the soil line; if it is, the plant can rot. Leave about 1 to 2 inches of space between the soil surface and the rim of the pot for watering.
Step 4: Fill Around the Sides
Fill around the root ball with potting soil, pressing gently as you go to eliminate air pockets. Water thoroughly after planting to settle the soil and help roots make contact with the potting mix. The soil will compact slightly; top it up if needed to maintain the proper level.
Step 5: Position for Light
Place your container where it receives part shade to full shade. Plantation Lily tolerates more direct morning sun in cooler, northern climates (zones 3 to 5) but needs afternoon shade in warmer regions (zones 7 to 9) to prevent leaf scorch. A spot that gets 2 to 4 hours of filtered morning sun and full afternoon shade is ideal in most zones.
Step 6: Establish a Watering Schedule
Water your potted Plantation Lily so the soil stays consistently moist. Aim for about 1 inch of water per week during the growing season. In sandy or fast-draining mixes, you may need to water more frequently. During hot spells or drought periods, check the pot every two to three days. Push your finger 2 inches into the soil; if it feels dry, water. If it still feels moist, wait a day before checking again.
Year-Round Container Care
Spring Feeding
When new growth emerges in spring, apply a light application of balanced slow-release fertilizer according to package directions. Alternatively, work a thin layer of compost into the top 2 inches of soil. Avoid heavy nitrogen, which can weaken the cream-colored leaf margins that make Plantation Lily distinctive.
Summer and Fall Maintenance
Deadhead spent flower scapes after bloom (mid to late summer, typically July through August) for a tidier appearance. In late fall after the first hard frost, when foliage yellows and collapses, cut back all dead leaves and stems to the soil surface. Remove the dead material entirely to reduce pest and disease pressure over winter.
Winter Dormancy
Plantation Lily is fully deciduous and dormant in winter. In zones 3 to 5, you may want to move the pot to a sheltered location like a garage or cold frame to protect the soil from extreme freeze-thaw cycles, which can crack pots and heave the crown. In zones 6 to 9, leaving the container outdoors is usually fine, though wrapping the pot in burlap adds insurance. Do not water during dormancy.
Common Mistakes and How to Avoid Them
Overwatering
Plantation Lily does not tolerate prolonged drought, but it also resents sitting in soggy soil. If your pot is draining water within seconds of watering, increase the frequency slightly. If water pools on the surface and drains slowly, your soil may be too dense or your drainage holes may be blocked. Clear any debris from drain holes and consider repotting with a lighter potting mix next spring.
Choosing a Pot That's Too Small
A container that is too small restricts root growth and dries out faster. At minimum, use a 14-inch pot for a young Plantation Lily. As your plant grows over 3 to 4 years, you may graduate to a 20-inch or larger container, especially if you live in a hot climate where pots dry quickly.
Slugs and Snails
These pests will chew holes in Plantation Lily leaves regardless of whether the plant is in a pot or the ground. Check the undersides of leaves and soil surface after rain or evening watering. Hand-pick visible slugs and snails, or use slug bait around the base of the container. Beer traps and copper tape around the pot rim can also deter them.
Insufficient Shade in Hot Regions
In zones 7 to 9, afternoon sun will scorch the foliage. If your Plantation Lily shows bleached or brown leaf edges during summer, move it to a shadier spot or provide afternoon shade cloth between 2 p.m. and 5 p.m. on the hottest days.
Expected Results and Bloom
A potted Plantation Lily may take its first full season to adjust to container life, but it typically blooms in its second or third year. Expect pale lavender to near-white flowers on scapes that reach 28 to 30 inches in height, rising well above the foliage mound. These flowers attract hummingbirds and bees and bloom mid to late summer, varying by your zone and local temperature patterns.
Container-grown Plantation Lily reaches a mature foliage mound of 18 to 24 inches tall and 24 to 36 inches wide, though some plants may spread more slowly in pots than in rich garden soil. Growth is slow to moderate; expect roughly 2 to 4 inches of spread gain per year until your plant reaches full size.
With consistent moisture and proper light, a potted Plantation Lily can thrive for 20 or more years. After 3 to 4 years, you may divide the crown in early spring or early fall if you want to propagate new plants or rejuvenate an overgrown specimen.
For detailed care guidance beyond the container, see our full Plantation Lily care guide.
Quick Reference: Container Growing Checklist
| Task | Timing | Details |
|---|---|---|
| Plant or repot | Spring or early fall | Use 14+ inch pot with drainage. Rich, well-drained soil, pH 6.0–7.0 |
| Water | Growing season (spring–fall) | Aim for 1 inch per week; adjust for soil dryness and heat |
| Feed | Early spring | Light application of balanced slow-release or compost top-dress |
| Deadhead | After bloom (late summer) | Remove spent flower scapes for neatness |
| Cut back | Late fall after frost | Remove all dead foliage to soil level |
| Position | Year-round | Part shade to full shade; more morning sun in cooler zones (3–5) |
| Dormancy | Winter | Do not water. Mulch pot or shelter in extreme climates (zones 3–5) |
| Divide (optional) | Early spring or early fall | After 3–4 years if desired for propagation or rejuvenation |