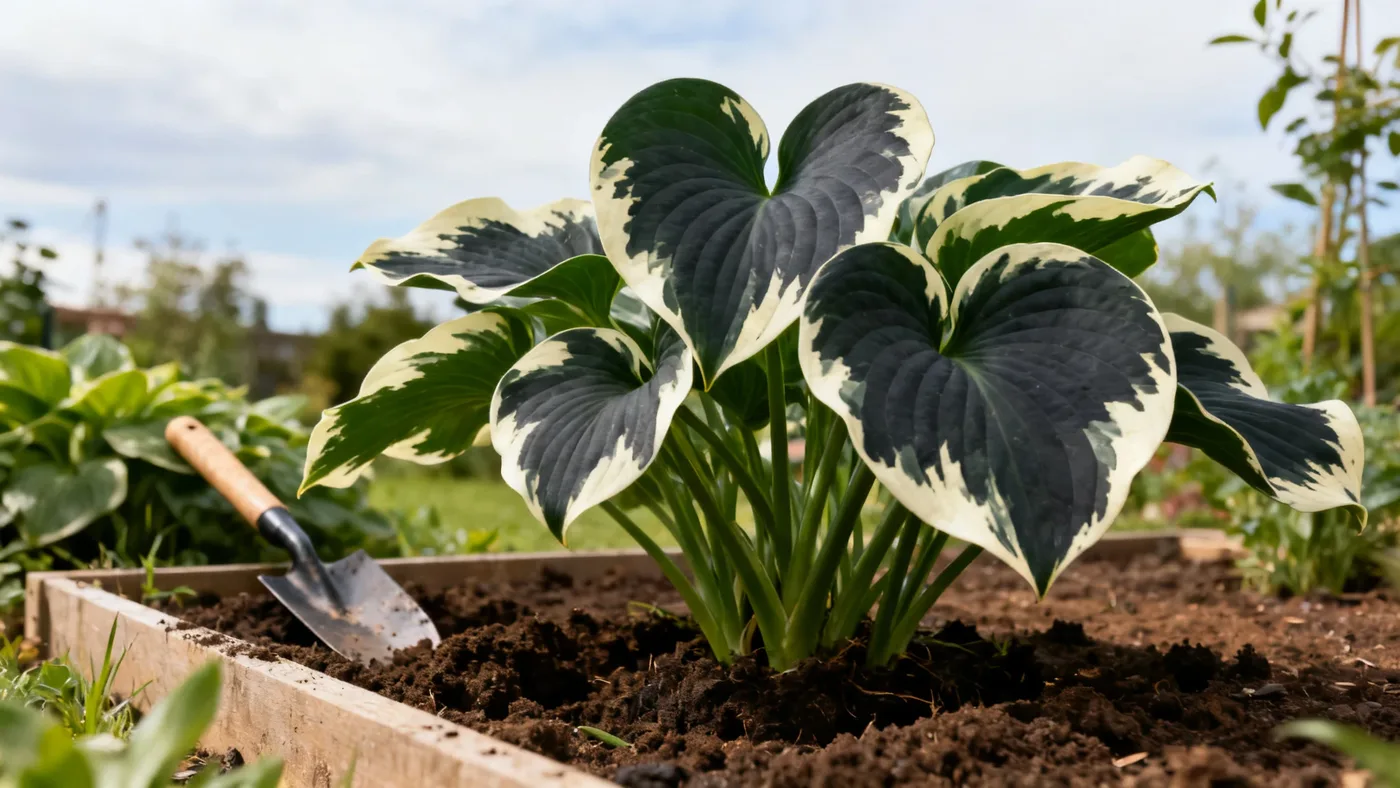
How to Propagate Plantation Lily by Division in Spring
Dividing your Plantation Lily (Hosta 'Patriot') is one of the simplest ways to expand your garden and refresh an aging clump. This dark-green perennial with creamy-white margins grows steadily, reaching its full mature size in about 3-4 years. Once your plant is well established, division gives you healthy new plants while invigorating the parent clump. Spring is the ideal time to split a Plantation Lily.
Why Divide Plantation Lily
Plantation Lily clumps become thicker and more congested over time. Division serves two purposes: it reduces crowding, which improves air circulation and reduces disease pressure, and it produces multiple independent plants from one parent. A mature Plantation Lily that has spent 5 or more years in one spot is an excellent candidate for division. The cultivar 'Patriot' responds well to this method and will not need special propagation techniques like seed, which would not grow true to the cultivar anyway.
Since Plantation Lily is a long-lived perennial commonly lasting 20+ years with periodic division, splitting an established plant is a practical way to restart vigor and create plants for other parts of your garden or to share with others.
When to Divide: Spring Timing
Early spring is your best window. In zones 3-8, divide Plantation Lily as soon as the soil is workable, typically 2-3 weeks before your last spring frost when new shoots are just beginning to emerge from the crown. In zone 9, you can divide a few weeks earlier since frost risk drops sooner. Avoid dividing during the heat of summer or in late fall, when the plant lacks energy for recovery.
Early spring timing aligns with the plant's natural growing season. The warm soil and increasing daylight hours push the divided sections to establish roots quickly and send up new foliage. For complete year-round care details, see our complete growing guide.
Materials You'll Need
Keep your tools and supplies close before you dig:
- Sharp spade or digging fork
- Gardening knife or hand saw for cutting the crown
- Bucket of water
- Compost or aged bark mulch
- Soil amendment (peat moss, coco coir, or additional compost)
- Watering can
- Garden gloves
A sharp spade is essential. A dull blade crushes tissue and invites rot. If you are dividing a very large, dense clump, a serrated gardening saw cuts the crown faster than a knife and leaves cleaner edges.
Step-by-Step Division Process
Step 1: Dig the Entire Clump in Early Spring
Water the Plantation Lily thoroughly one day before division. Dig around the entire perimeter of the clump, working your spade down and under the root ball. Aim to capture the whole thing: get deep enough to avoid severing major roots, but work with patience. Once loosened, carefully lift the clump from the ground and set it on a tarp or garden bed where you have room to work.
Gently shake off excess soil by hand. Do not rinse the crown with a hose yet. You want to see the natural division points clearly.
Step 2: Inspect the Crown for Natural Segments
Hosta 'Patriot' crowns often show natural seams where growing points (eyes) cluster together. Look for areas where the crown narrows or where distinct rosettes of petioles separate. These are your division zones. A mature clump often yields 3-5 usable divisions, though a very large plant may give you more.
Each division needs at least 1-2 eyes (growing points) to regenerate foliage. Eyes look like small bumps or shoots beginning to swell at the crown surface.
Step 3: Make Clean Cuts Through the Crown
Using your sharp knife or saw, cut down through the crown to separate each division. Cuts should be clean and straight, not jagged. If a section tears or splits unevenly, trim the ragged edge with a fresh cut. Do not leave loose flaps of tissue hanging; they will rot.
Each resulting division should weigh at least 3-4 ounces and carry several attached roots along with the crown section. Divisions that are too small often fail to establish.
Step 4: Inspect and Trim Damaged Roots
Once separated, rinse each division gently under cool water to clean away soil and see the roots clearly. Remove any mushy, blackened, or obviously dead roots with clean cuts. Healthy roots are pale, firm, and pliable. If the division has a large mass of circling roots, you can tease them apart gently with your fingers to encourage them to spread outward once planted.
Leave as many healthy roots attached as possible. Roots are the lifeline during establishment.
Step 5: Prepare Planting Holes
Amend your planting area with compost worked into the top 8-10 inches of soil. Plantation Lily thrives in rich, humus-heavy, well-drained loam. If your soil is clay-heavy or compacted, add an extra 2-3 inches of compost and work it in deeply.
Space your divisions 24-36 inches apart, center to center. This spacing accounts for mature width and allows each plant room to reach its full 24-36 inch spread without competing.
Step 6: Plant the Divisions
Set each division into its hole so that the crown sits just at or slightly above soil level. The crown must not be buried; a buried crown is prone to rot, especially in cool, wet springs. Backfill around the division with amended soil, firming it gently with your hands. Do not pack soil hard. Settle the soil with a moderate watering and add a thin mulch layer (1-2 inches) of aged bark or compost around the base, keeping it 2-3 inches away from the crown.
Step 7: Water and Monitor Through Spring
Water the newly planted divisions deeply after planting to settle the soil and close air pockets. For the first 4-6 weeks, keep the soil consistently moist but not waterlogged. Aim for about 1 inch of water per week from rain or irrigation. In dry springs, you may need to water 2-3 times a week.
Young divisions are vulnerable to drought stress. Watch for wilting leaves in late morning or early afternoon as a sign they need water.
Tips for Success
Divide in cool weather. A rainy day or early morning is ideal. Avoid hot, windy conditions that stress newly planted divisions.
Make cuts cleanly. A rough, torn crown edge takes longer to callus over and is more prone to rot and disease. A sharp saw or knife is worth the investment.
Plant shallowly. The single biggest cause of failure in newly divided Hosta is burying the crown too deep. Keep it at or just above the soil surface.
Do not fertilize immediately. New divisions do not need heavy feeding. A light, balanced slow-release fertilizer applied in late spring (6-8 weeks after division) is plenty. Heavy nitrogen can stress young plants.
Be patient with growth. Divisions that establish well in spring may not reach full mature size for 3-4 years. This is normal. The clump will gradually expand at roughly 2-4 inches per year.
Common Mistakes to Avoid
Dividing in hot weather. Heat stresses the plant and slows establishment. Save division work for spring or early fall when temperatures are cool.
Planting divisions too deep. This invites crown rot and is the most common reason divisions fail. A shallow crown at or just above soil level is non-negotiable.
Overcrowding divisions. Planting too close together reduces air flow and creates humidity that favors fungal disease. Stick to the 24-36 inch spacing, even if it means fewer plants per bed initially.
Ignoring watering needs. Young divisions cannot survive weeks without moisture. Water regularly for the first month, especially if spring is dry.
Cutting divisions too small. Pieces smaller than 3-4 ounces lack the reserves to recover from transplant shock. Bigger divisions establish faster and more reliably.
Expected Results
Each division typically takes 2-3 weeks to show new shoots if planted in early spring with consistent moisture. In zones 3-8, expect visible foliage growth within 4-6 weeks. Growth will be slower in cool springs or if moisture is irregular.
Divisions may bloom in their second season after planting, though first-year plants usually focus energy on root and crown development rather than flowers. Full mature clump size (24-36 inches wide) takes about 3-4 years from the time of division, so be patient. Plantation Lily is a reliable perennial that rewards good care with decades of healthy growth.
If a division fails to leaf out by mid-summer despite consistent watering, it likely suffered crown rot during planting. Remove it and improve drainage in that spot before replanting.
Quick Reference Checklist
| Step | Timing | Key Detail |
|---|---|---|
| Dig clump | Early spring, 2-3 wks before last frost | Water thoroughly the day before |
| Inspect crown | While clump is out of ground | Look for natural eyes and seams |
| Cut divisions | Same day as digging | Use sharp knife; each needs 1-2 eyes and 3-4 oz minimum |
| Trim roots | After rinsing divisions | Remove dead or mushy roots only |
| Prepare bed | Before planting | Amend with compost to 8-10 in depth |
| Plant divisions | Same day as cutting | Crown at soil surface, not buried |
| Space plantings | Center to center | 24-36 inches apart |
| Water | First 4-6 weeks | About 1 inch per week; keep soil moist |
| Monitor growth | Ongoing through summer | Expect new shoots in 2-3 weeks; full size in 3-4 years |